I thought this day would never come.
The girls' room is crossed off my list so I can begin the boys' room. Would you like to see what we put on the walls?

The cross-stitch was done by little young me when I was ten or eleven. I nailed it up there with straight pins. My seven-year-old daughter painted the rainbow (but I think she was six when she did it) with a little artistic advice from my sister and me. Originally
I was going to paint a rainbow, but I have very little talent for painting. It was my best friend's idea to have my daughter do it.

Best. Idea. Ever.

I can't remember if I told you the story about finding flower posters that match the wallpaper trim on
AllPosters.com. Oh yes...I did.
Here. Anyway, the frame on the left carries a few more of the flowers painted by Anthony Morrow. The butterfly on the right was painted by my oldest daughter when she was in kindergarten.

My daughter would not let me get rid of the huge kitty poster, so I cut them out individually to make a collage above her bed, which I like much better.
Okay, now for what we put on the beds:

I'm sorry, but this is my favorite stuffed animal/bug. I don't know which makes me happier, his face or all those feet!

These bears look like a big sister and a little sister who love each other, don't they?

I bought two black travel pillows like this at a yard sale for a buck a piece.
Then I took the leftover material from the dress I stole the valance bow from and hand-sewed it onto the front of one.
For the other one, I sewed on a couple of old iron-on flowers I've had in my craft box for ten years and some rick-rack I've had for almost as long.


I have never claimed to be good with a camera.
And lastly, the under-the-bed part was bothering me because it looked like this:

So I did this:

I know it's wrinkled, but it still looks better than the pajama crates (that's what we call them). Hemming all of those strips of material (left over from the bed skirt material I used to make the valance) and then tacking them to the bottom of the bed was a lot more work than you might think, but I'm glad I did it.
And I'm glad it's done.
The tally? I don't remember the exact prices of everything, but I'll give you close estimates:
The blanket and stuffed animals were gifts.
$10 art posters
$2 for 2 foam poster boards from Dollar Tree (just so you know, this curled when we painted it)
$4 paints
$200 bunk beds
$100 mattress (the other one is the mattress my husband slept on when he was a kid!)
$1 frame from a yard sale (spray-painted black)
$2 travel pillows
$36 for two bedspreads on clearance at K-mart
$1 yellow afghan from D.I. (second-hand store)
$40 for ten plastic crates from Family Dollar
$500 to replace the stinky carpet with vinyl...but now I can't remember if that was for both rooms or just one. I'll get back to you.
Add that to the $187 from the rest of the room and you get $1,083. I don't think I added the cost of paint anywhere, so I'll say the room cost about eleven hundred dollars. I'm looking forward to seeing if I can spend much less in the boys' room!


 The cross-stitch was done by little young me when I was ten or eleven. I nailed it up there with straight pins. My seven-year-old daughter painted the rainbow (but I think she was six when she did it) with a little artistic advice from my sister and me. Originally I was going to paint a rainbow, but I have very little talent for painting. It was my best friend's idea to have my daughter do it.
 Best. Idea. Ever.
 I can't remember if I told you the story about finding flower posters that match the wallpaper trim on AllPosters.com. Oh yes...I did. Here. Anyway, the frame on the left carries a few more of the flowers painted by Anthony Morrow. The butterfly on the right was painted by my oldest daughter when she was in kindergarten.
 My daughter would not let me get rid of the huge kitty poster, so I cut them out individually to make a collage above her bed, which I like much better.
 I'm sorry, but this is my favorite stuffed animal/bug. I don't know which makes me happier, his face or all those feet!
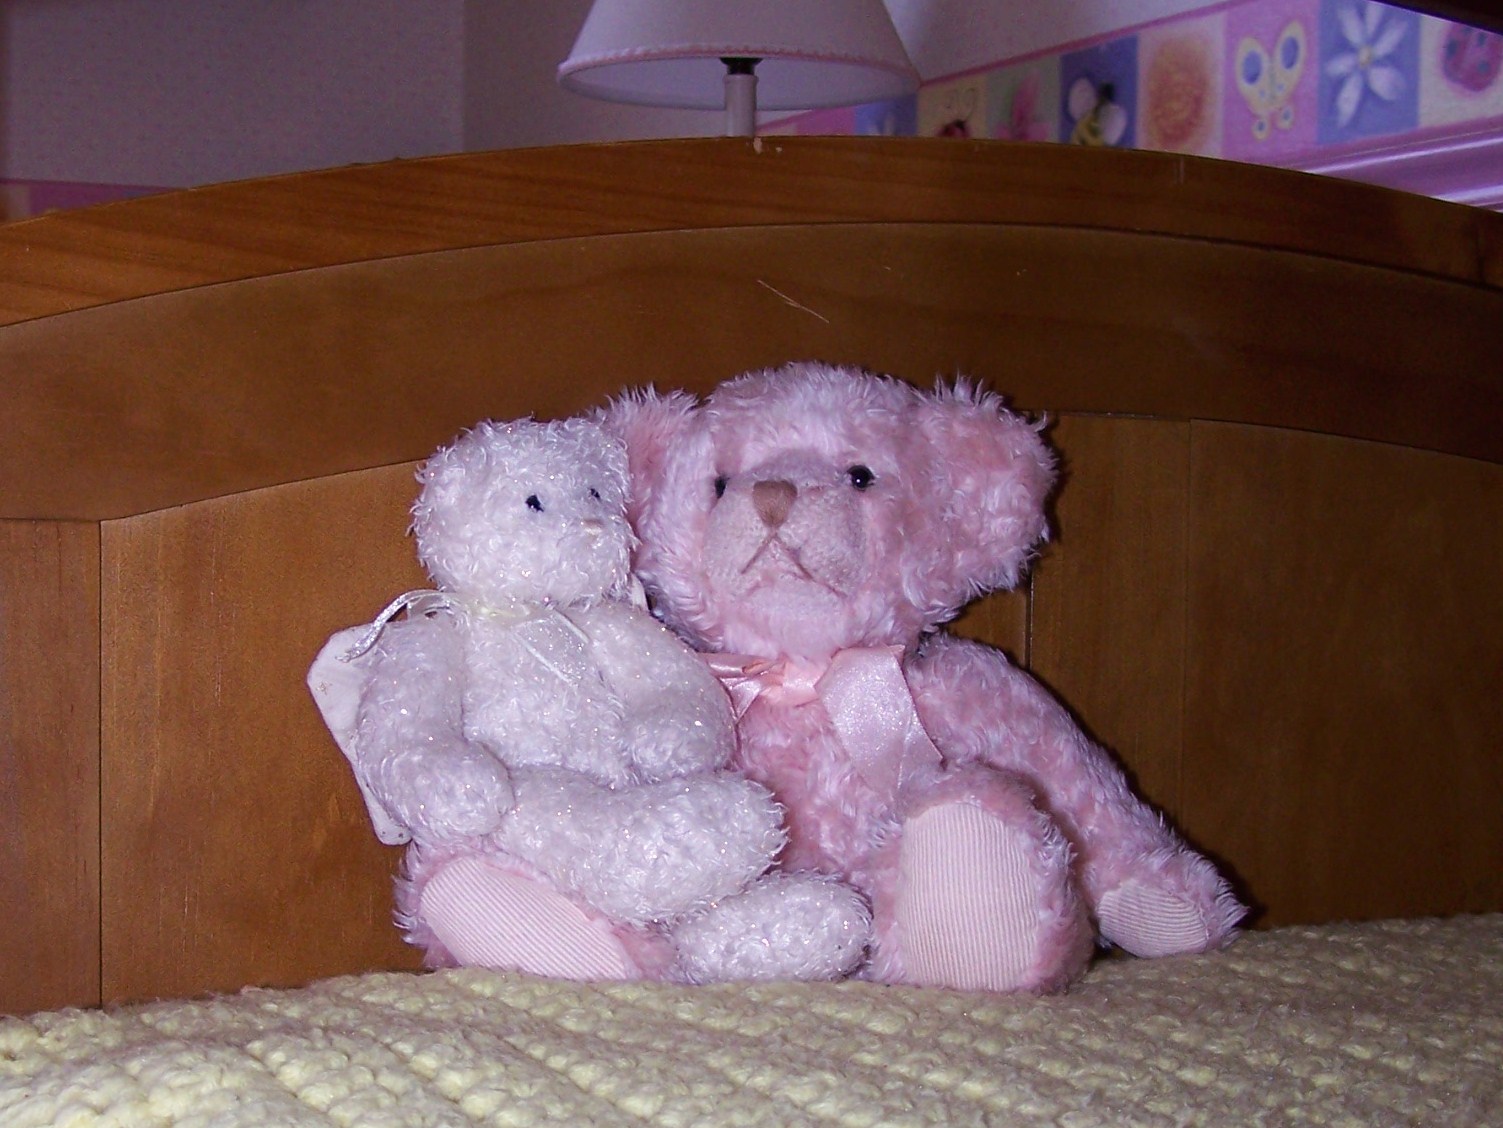 These bears look like a big sister and a little sister who love each other, don't they?

 I have never claimed to be good with a camera.
 So I did this:
 I know it's wrinkled, but it still looks better than the pajama crates (that's what we call them). Hemming all of those strips of material (left over from the bed skirt material I used to make the valance) and then tacking them to the bottom of the bed was a lot more work than you might think, but I'm glad I did it.


 So, for the tally. We were at $134. Now we add $10 for the lamp, $25 for the CD player, $10 for the toy kitchen (another yard sale), $5 for the picture frame, and $3 for the trash can = $187. As I said before, the table and chairs were free. They are not fancy by any means, but this is a table in a kid room: it's perfect.

 First I looked and looked and looked for a plain yellow valance. Finally, I gave up and bought a yellow bedskirt from D.I. (a thrift store) for $1 and sewed a valance out of it. The only problem was, it looked like this:


 This was how my girls began their new lives in a pink room three years ago. The posters were a miracle. I looked for posters on allposters.com: something to hide all the nail holes. I never would have believed that among the thousands of flower posters I would find an exact match to the wallpaper trim, but I did! The picture of Jesus with the children is an old favorite that I have had since before I married.
 fter I posted this picture here, I noticed that it was all looking a little tacky.
 I dream of this room becoming a game room/study/library, hence the game theme in the arrangement. Both the trunk boxes come from my childhood: the puppy box was a place to keep my treasures when I was little, and I used the green trunk when I lived with my second family. The puppy box is topped with my husband's childhood checker board. I thought of covering the sides of it too, but I just couldn't do it!
 It was pretty, but it never really fit anywhere in my house, so I covered it with some of my husband's old playing cards, and put the Chinese Checkers game on top. I'll keep my eyes open for something a little taller to replace the polka dotted tin, but for now, I'm happy with it and I think the plants are too.
